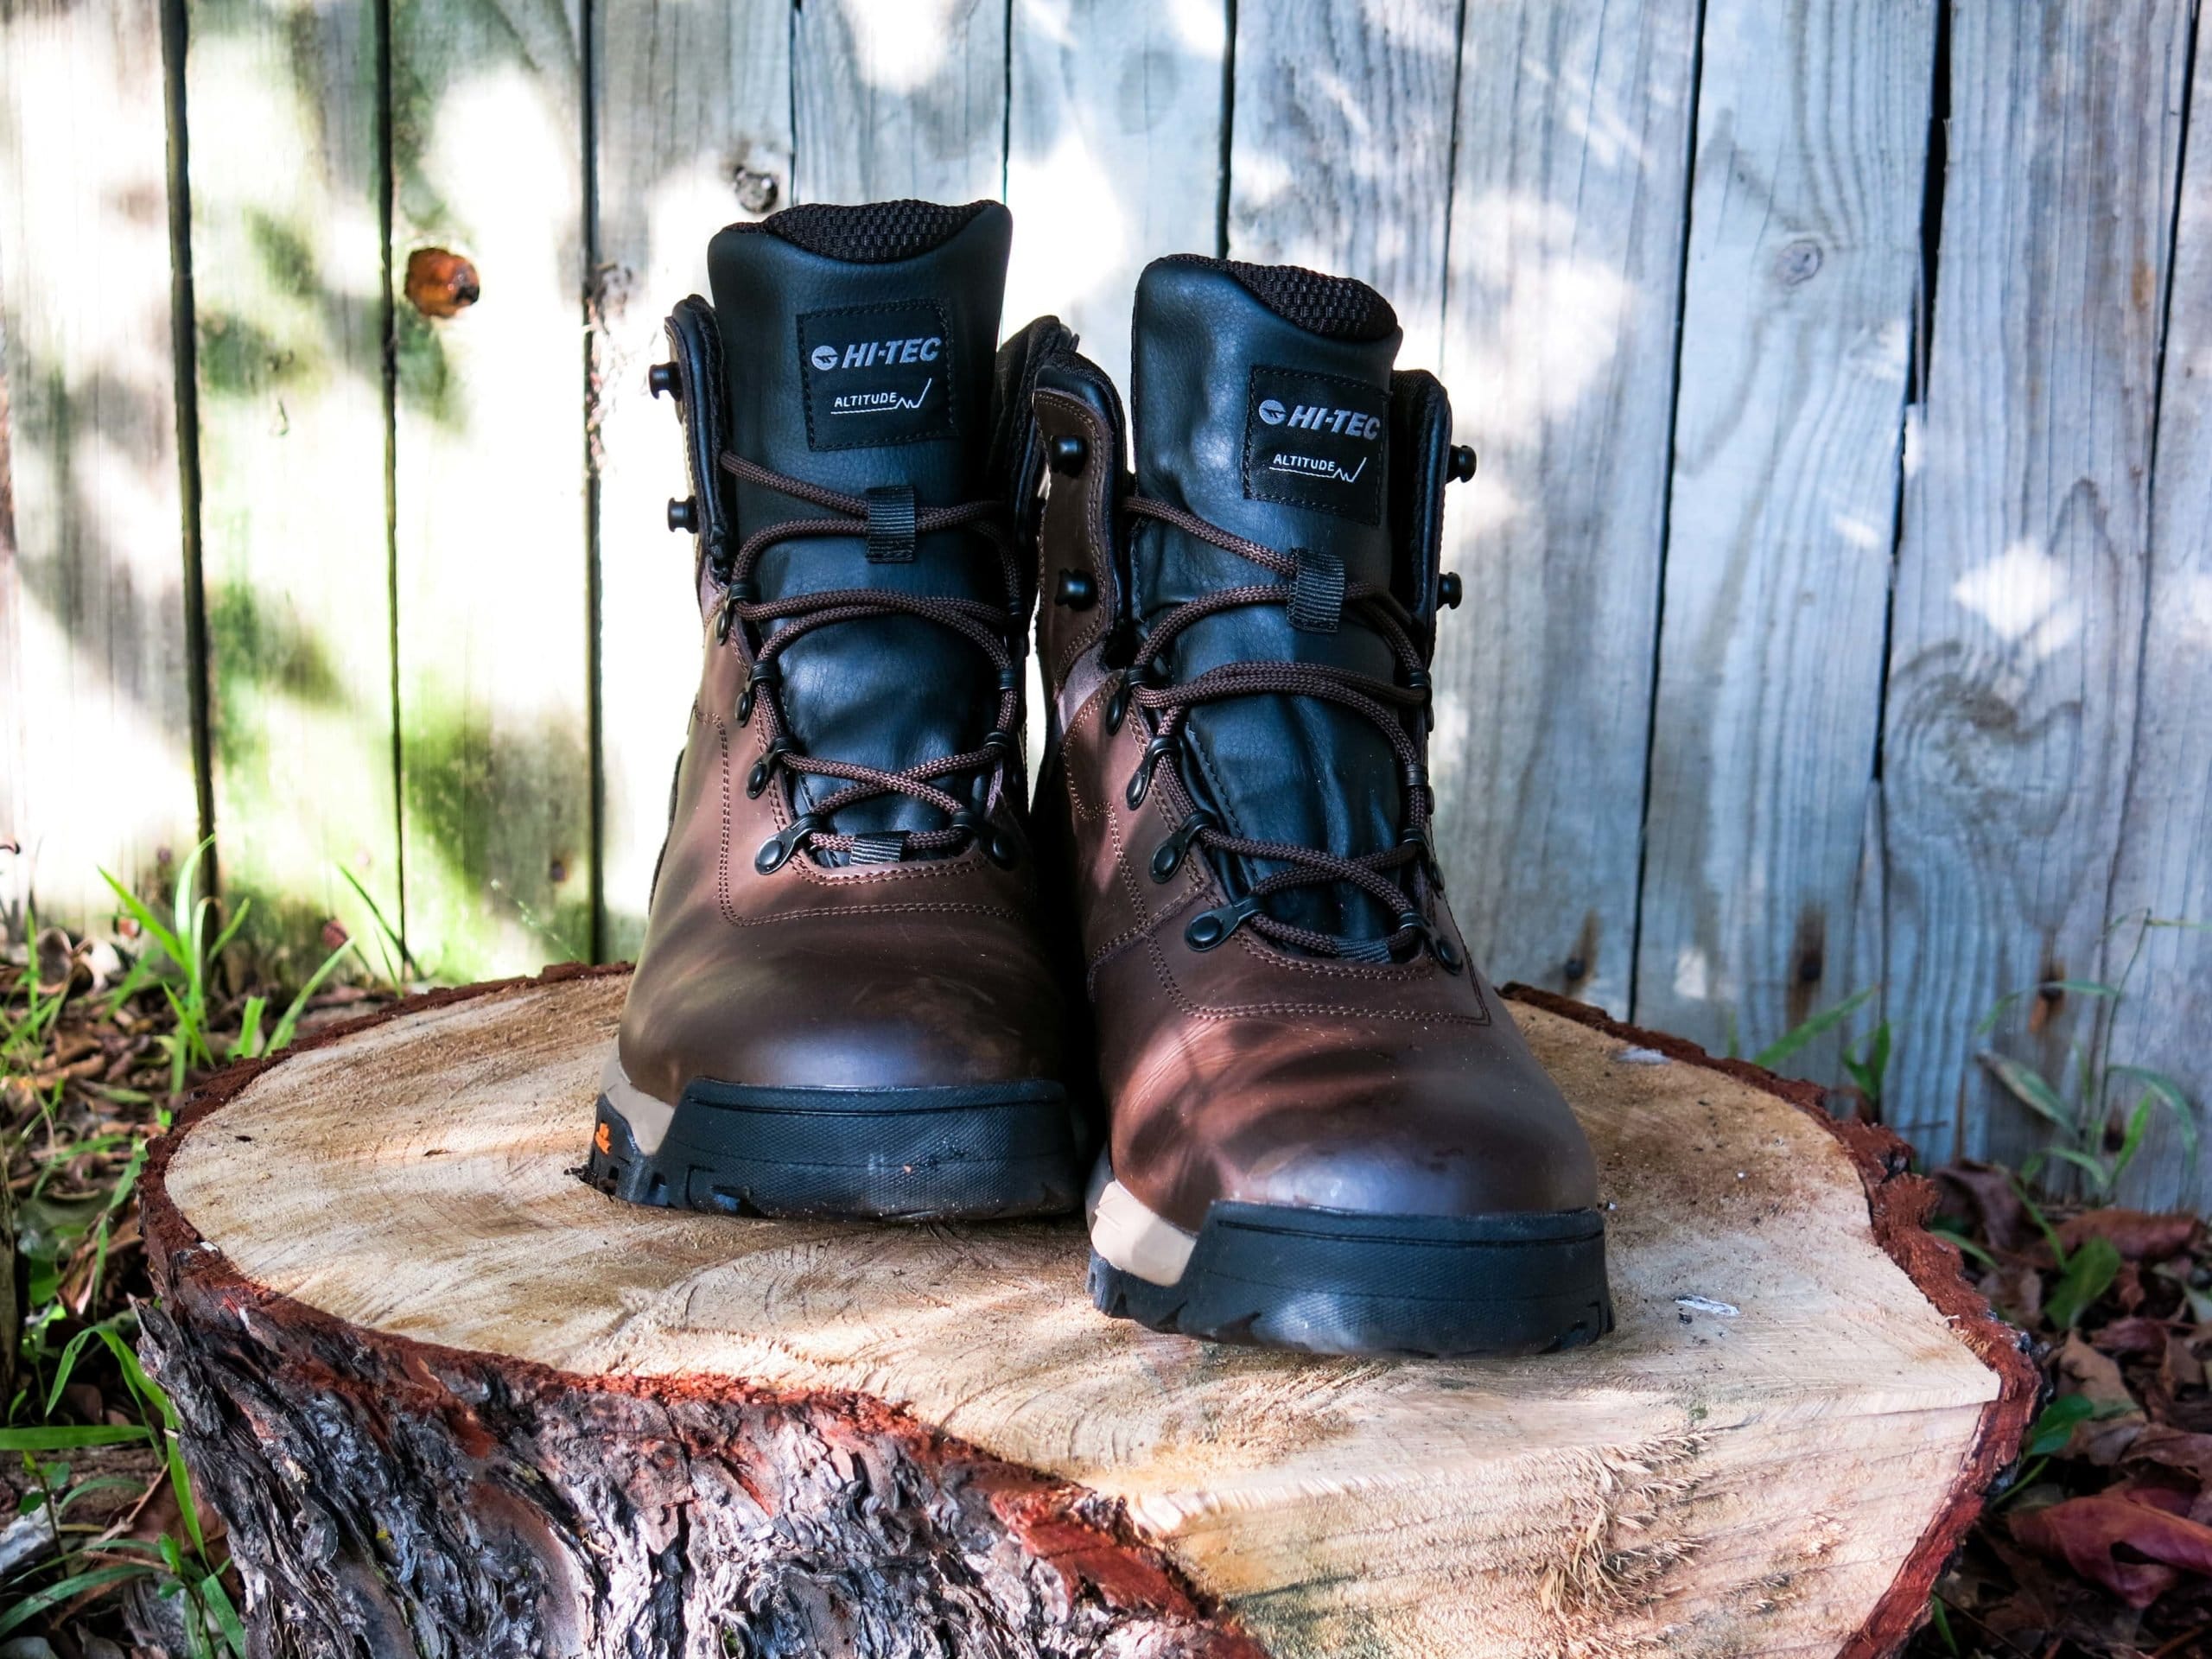
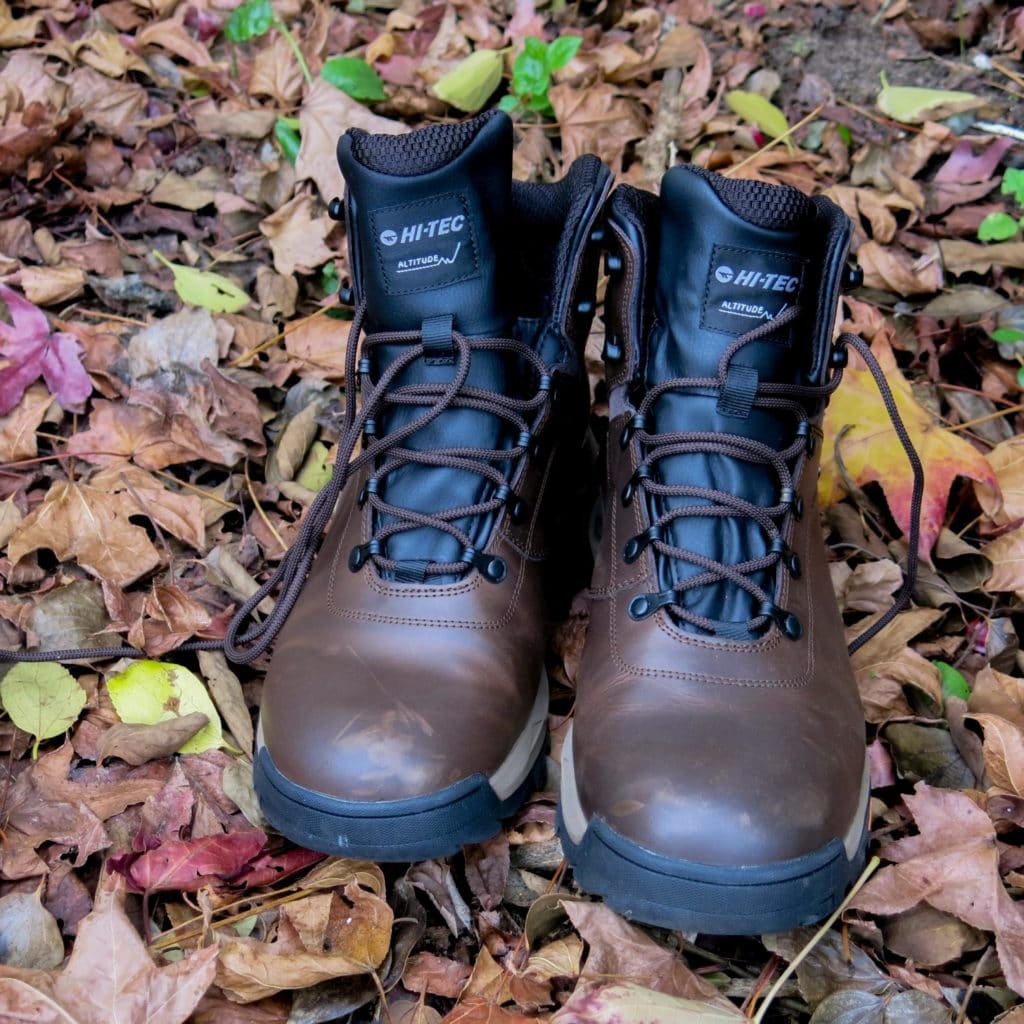
No two ways about it. Your hiking boots are the most important piece of hiking equipment you own. The quality and condition of your footwear can make or break a hiking adventure, which is why you need the Hi-Tec Altitude Infinity AL Mid WP in your life.
Read on to find out how to look after you most prized hiking possession. We’ve also thrown in a few lacing tips to help you cater for every kind of on-trail emergency.
How to clean your hiking boots: Light Clean
Every time you get back from a hike (or when you reach the hut, on a multi-day hike), you should show your hiking boots a little love by knocking and/or brushing (an old toothbrush works a treat) off any mud, thorns, and dirt. Once this is done remove the insoles and allow both these and the boots to dry (of perspiration and/or water) in a warm, well-ventilated spot. Never dry boots in front of a heater or a campfire and never, ever use a hairdryer to speed up the process.
How to clean your hiking boots: The ‘full Monty’
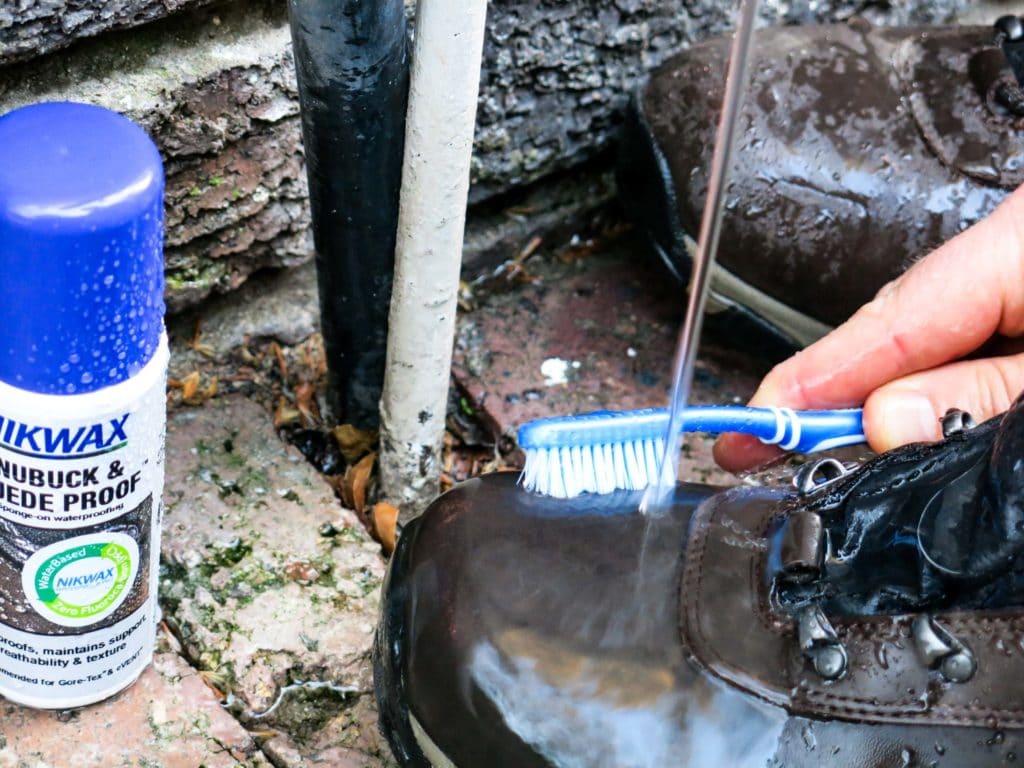
You should give your boots a thorough clean at least once a season and after any hike that entails lots of muddy terrain and/or river crossings. After getting rid of any loose mud and dirt, remove and wash the laces and insoles. Now apply specialist boot cleaner to your boots and rinse your them under cold running water. (If you don’t have specialist boot cleaner, plain water will do just fine. DO NOT resort to regular cleaning products as these can damage both the leather and the waterproof membrane.)
For best results, apply sponge-on waterproofing (you get different types for synthetic, leather and suede boots) while your boots are still wet. Finally stuff your boots with balls of newspaper and leave to air dry in a warm, well ventilated area. Don’t do the ‘full Monty’ in the middle of a Cape winter if you can possibly avoid it!
Three simple lacing hacks
When buying boots, it’s very important to try them on wearing the socks you plan to hike in and to ensure that you get a snug fit that that’s neither too restrictive nor too roomy. That said, even the best-fitting pair of boots can give you hassles on the trail. It pays to know these three common lacing techniques.
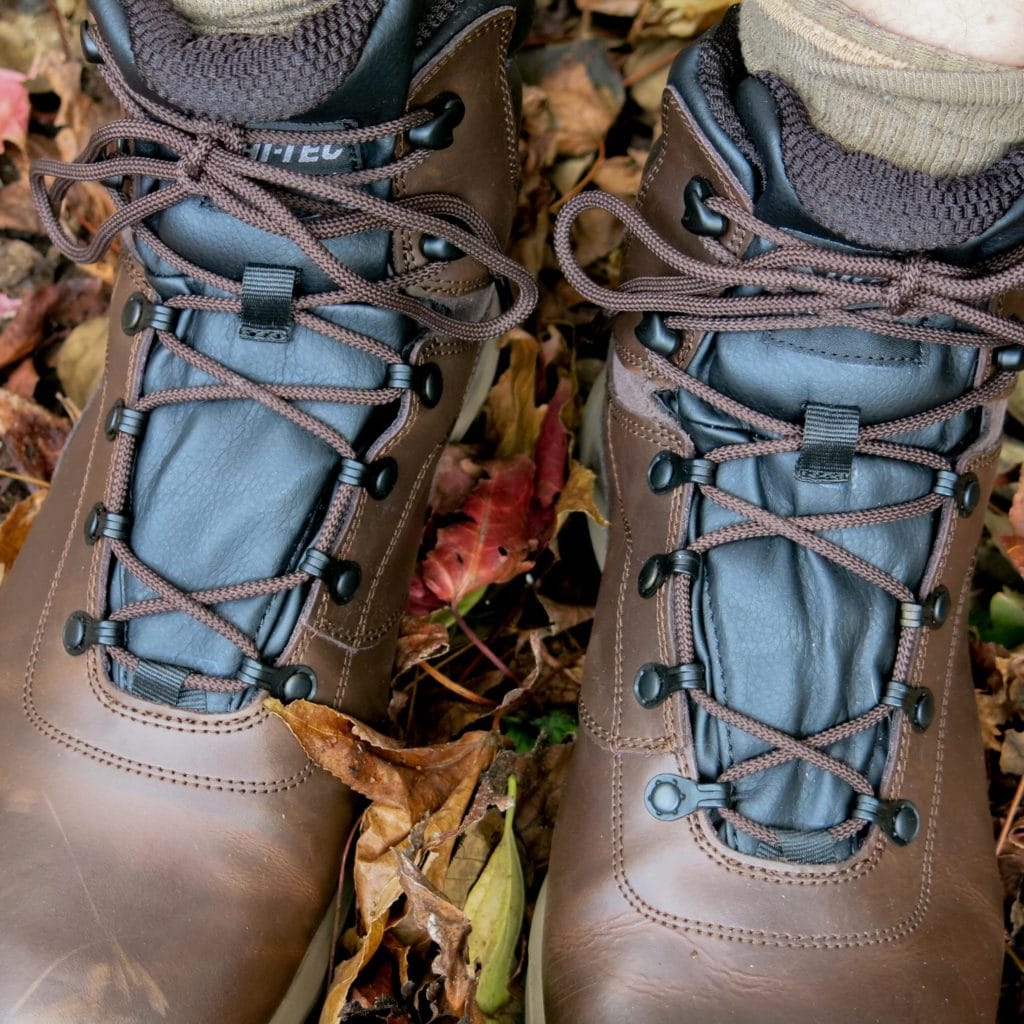
Box lacing (to ease the pressure on the top of your foot)
This is a very common problem with poorly-fitted boots. But even a perfectly fitting pair of boots can sometimes create an unpleasant pressure point on the tops of your feet. To alleviate this problem simply unlace your boots until the pressure point is relieved. Now, instead of lacing diagonally, go straight up to the next eyelet to create a box (or window) around the pressure point. Then continue to lace normally.
Surgeon’s knots (to prevent heel slip)
If your heels are slipping around while you hike, it’s probably because there’s too much room at the top of your boot. Either try putting on an extra pair of socks – or whip out the surgeon’s knot. Luckily this isn’t nearly as complicated as it sounds. Simply pull your laces tight and then twist them twice around one another at the two sets of lace hooks at the top. This will ensure that your laces don’t gradually loosen as you hike.
Toe-relief lacing (self-explanatory!)
There’s nothing worse than hiking boots that are too tight around the toes. Not only is hiking like this extremely unpleasant, it can also easily lead to blisters. To ease some of the pressure, simply unlace your boots completely and skip the lowest set of eyelets when re-lacing. This will leave more room for your “toesies” to do their thing.
Fascinating though boot maintenance and lacing techniques are, they don’t come close to the real thing. So, if you’ll excuse me, I’m going to hit the trail…
By Nick Dall