Whether you’re dealing with uneven terrain or blisters on your toes, knowing a few different lacing techniques comes in handy when you’re out in the trails. Here are a few of the most popular methods…
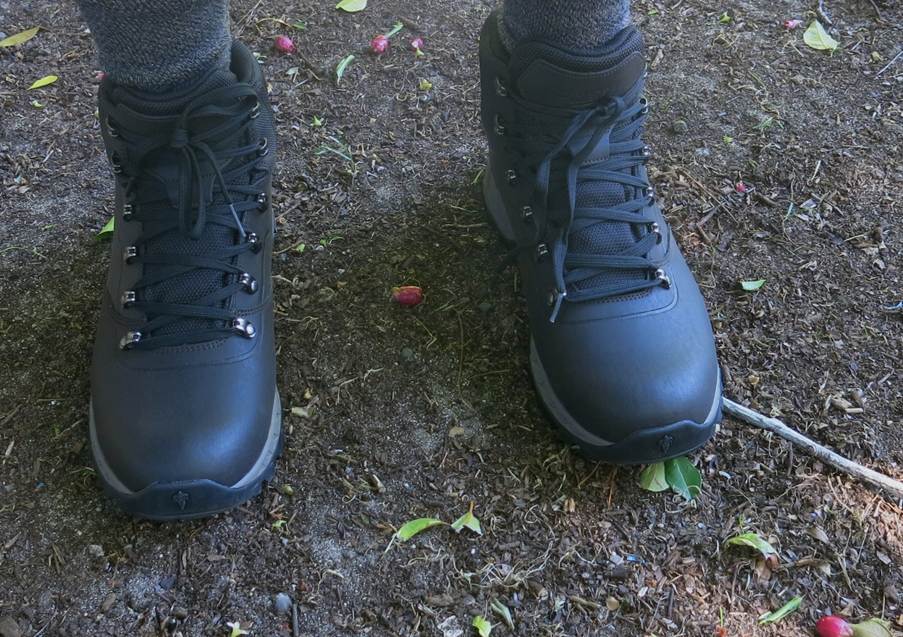
First things first
All the lacing techniques in the world cannot compensate for an ill-fitting boot. For example, if your toes hurt even when you’re on flat terrain, you probably need a new pair of boots. It’s also extremely important to wear good quality hiking socks – preferably with a moisture-wicking inner.
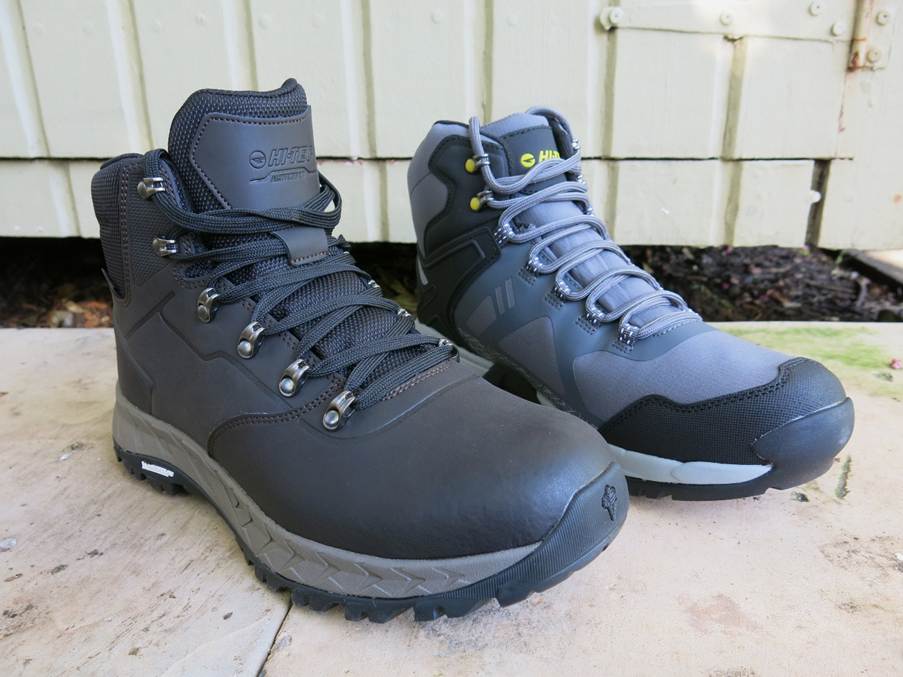
A handsome pair
With that out of the way, let’s look at a few popular lacing techniques as applied to two of our best-selling boots, the tough-as-teak Hi-Tec Altitude VII WP and the light-but-oh-so-durable V-Lite Psych II. Before we dive in, remember that, because everyone’s feet and gait are different, it’s likely that only one or two of these methods will apply to you.
- Old faithful
Before you try anything fancy, you need to know how to lace your Hi-Tec Altitude VII’s the old-fashioned way. Luckily it’s not rocket science: starting from the toe, thread your laces in a criss-cross pattern all the way up to your ankle. Take care to ensure that the laces are pulled taut – but not tight – through each set of eyelets. (For uphill climbing the lacing should be a bit tighter towards the top of the boot.) As with all of the techniques discussed in this blog, finish things off with a granny knot (less likely to slip) or a double bow (easier to untie).
Granny knows best
- Box clever
If, on Day 5 of the Amatola Trail, the top of one (or both) of your feet starts to feel a bit uncomfortable, it might be time to try box lacing (aka ‘window lacing’) your V-Lite Psychs. As the name suggests, this entails leaving a box/window around the pressure point. Simply unlace your boot until just below the pressure point (you’ll feel the relief instantly), then relace by going straight up to the next eyelet instead of criss crossing. Once you’ve created your box, you can lace and tie as normal. Here’s what it should look like (on the left):

A window of opportunity
- Like a surgeon
If your heel keeps slipping as you scramble across the Cederberg scree, it’s probably because you’ve got too much space at the top of your foot. The first step is to put on an extra pair of socks. If this doesn’t do the trick, you need the surgeon’s knot – and luckily it’s far easier to tie than it sounds. Lace your shoes normally until you reach the second-last set of eyelets. Then, simply twist the laces twice around one another before continuing to the final set of eyelets and repeating the procedure. More of a visual learner? Here’s a V Lite Psych that’s been given the surgeon’s treatment:
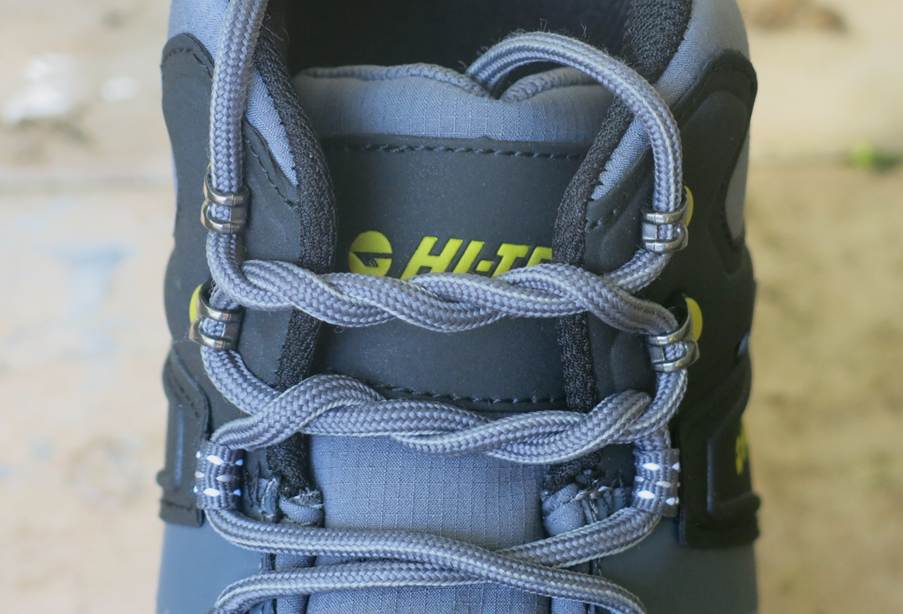
It’s not brain surgery
- Toe the line
If your toes are prone to blistering, you need to try toe-relief lacing – arguably the simplest technique of the bunch. Remove your laces completely and then rethread as normal, starting from the second lowest set of eyelets (not the lowest). This method reduces pressure on your toetsies and can be a real lifesaver after a long day in the Berg. Here’s how it should look on a pair of Altitude VII’s:
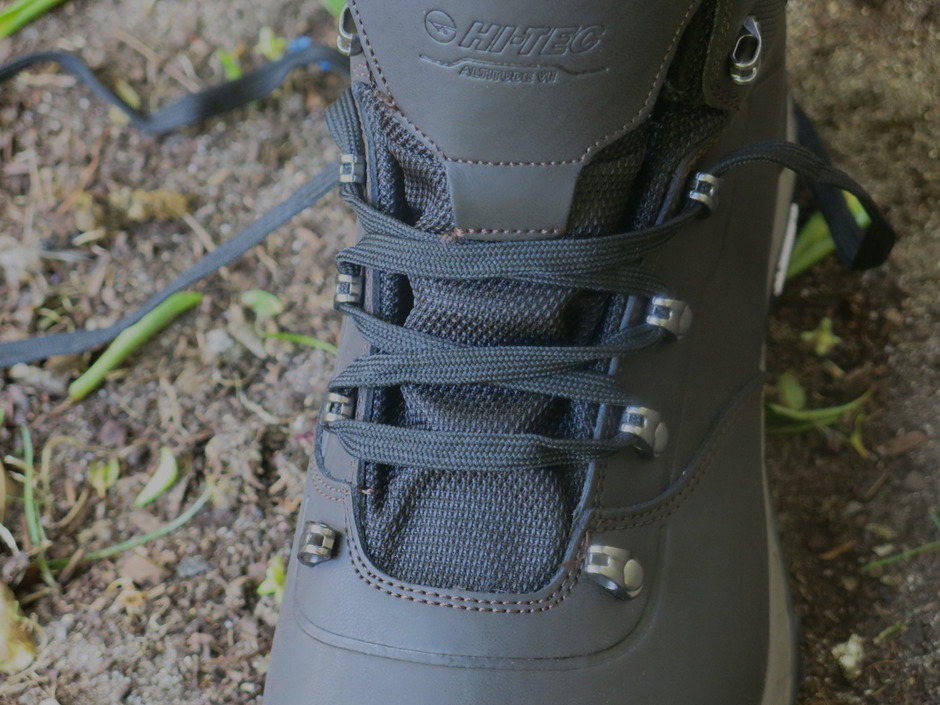
Leaving some wiggle room
No loose ends Knowing these common lacing techniques can be the difference between a miserable day in Mzansi’s mountains and an epic one. So get yourself a pair of Hi-Tec Altitude VII WPs or V-Lite Psych II’s and start walking the talk.